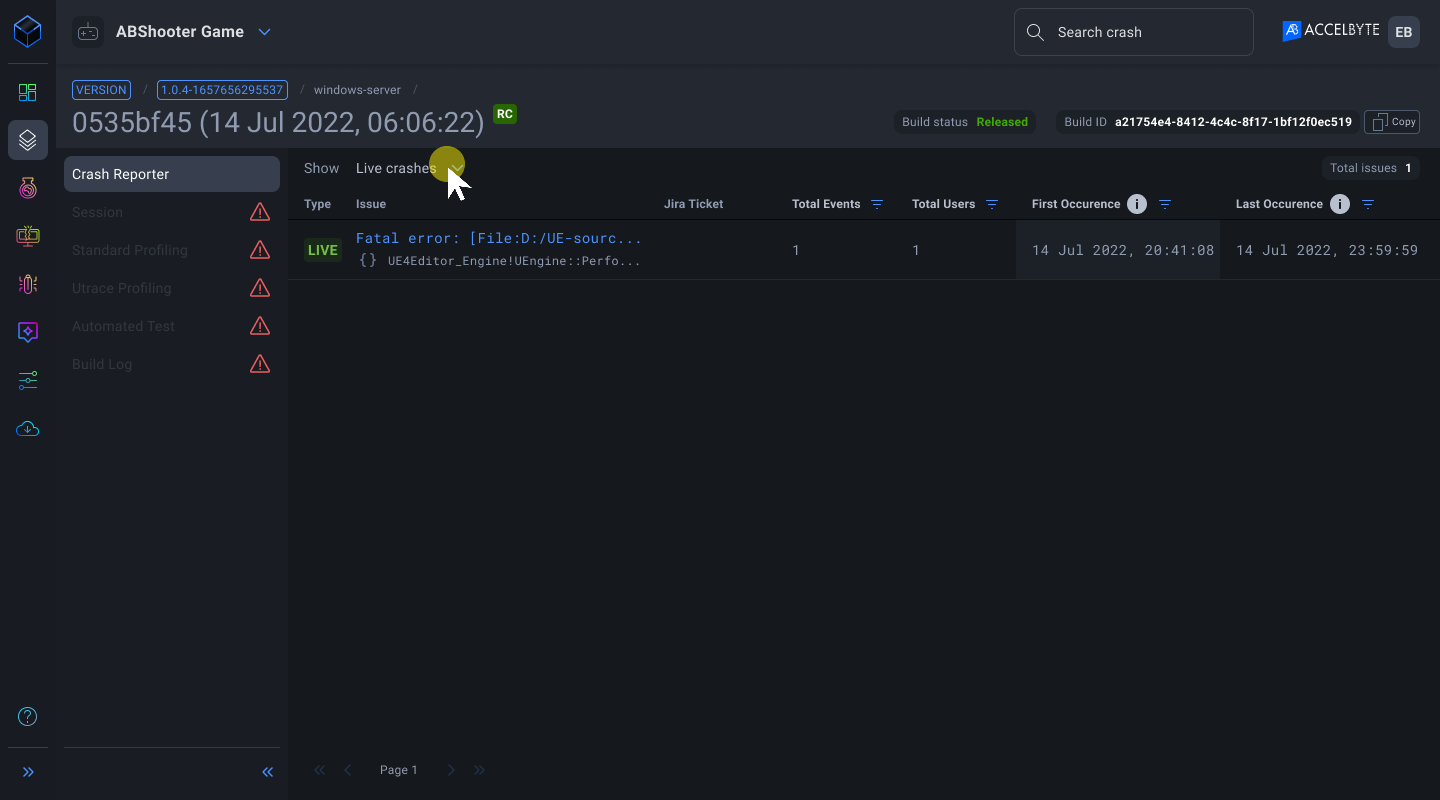
Live crashes
Overview
Use AccelByte Developmental Toolkit (ADT) to handle crashes from the early stages of development through post-launch (live environment). ADT captures data by using an SDK within your Unreal projects. ADT Unreal SDK can be integrated with UE 4.23 or later and supports Windows, PlayStation 4, PlayStation 5, Xbox One, and Xbox series X.
ADT imposes a limit of up to 100 live crashes per day in a namespace. Your quota limit refreshes at 00:00 AM UTC; if your namespace reaches the limit in one day, you must wait for the next day to get your quota back.
This guide shows you how to manage live crashes in your game.
Create new version
After you configure the Crash Reporter Client to use ADT, you can start using ADT CLI to create a new version for your game before moving to the next steps.
Register a build as a release candidate
Complete these steps to register a build as a release candidate (RC).
Open the ADT CLI and run this command to add the RC flag.
.\BlackBoxCLI.exe build register --namespace <Namespace> --apikey <APIKey> --game-project <GameProjectPath> --platform-name <Platform> --platform-arch x64 --game-engine <UE4GameEnginePath> --release-candidate --base-url <BaseURL>Optional. You can register your build with your preferred name by running this command.
.\BlackBoxCLI.exe build find-or-register --name <name> --platform-name <platform> --platform-arch x64The build shows in the ADT Web as RC.
Update crash reporter URL
Check the RC flag when you set the Crash URL command. For a live crash, update the crash URL.
.\BlackBoxCLI.exe crash-url set --game-engine <UE4GameEnginePath> --namespace <Namespace> --apikey <APIKey>
Prepare live build
Open the ADT CLI and run this command:
.\BlackBoxCLI.exe build prepare --namespace <Namespace> --apikey <APIKey> --game-project <GameProjectPath>
At this stage, the system disables the ADT SDK and it is ready to set as Live.
Set the build to live
NOTE
Once you set the build to live, you can't revert it. Repeat these steps to set another build to live.
You can set your RC build to a live environment in several ways.
Set live build on the Version page
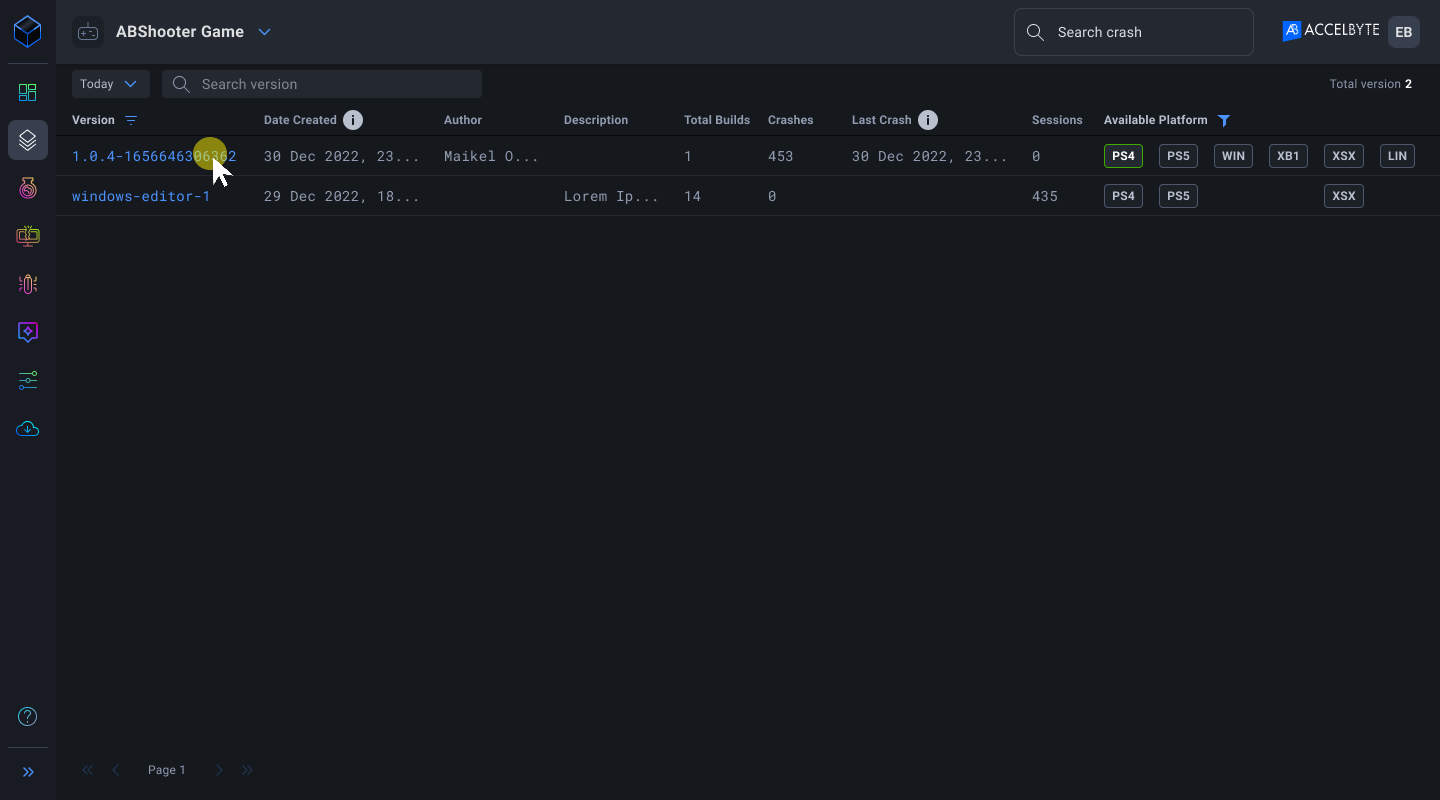
Log in to ADT Web, then go to the Version page.
Click on the version with your RC build in it.
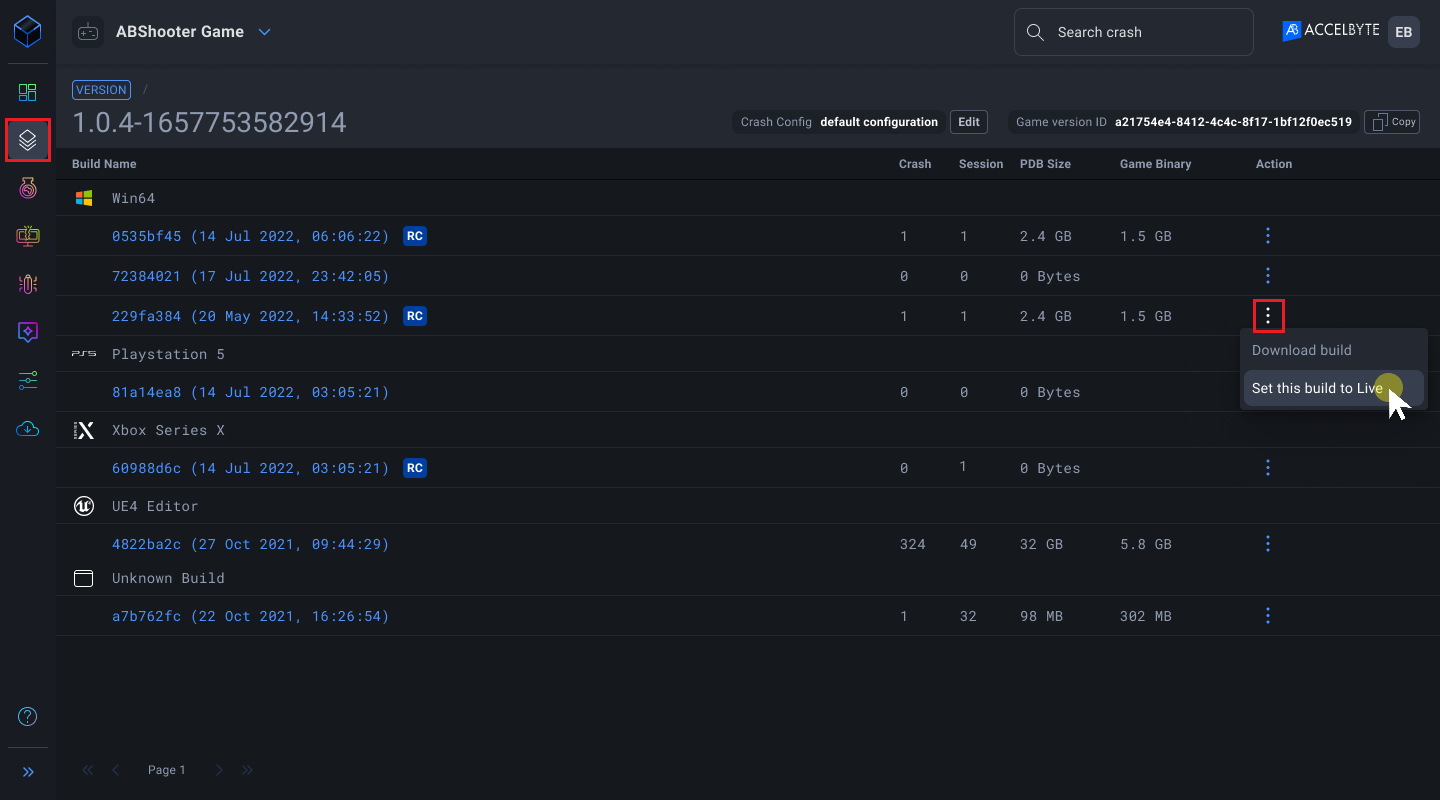
Click the ellipsis on the build with the RC flag, then click Set this build to Live.
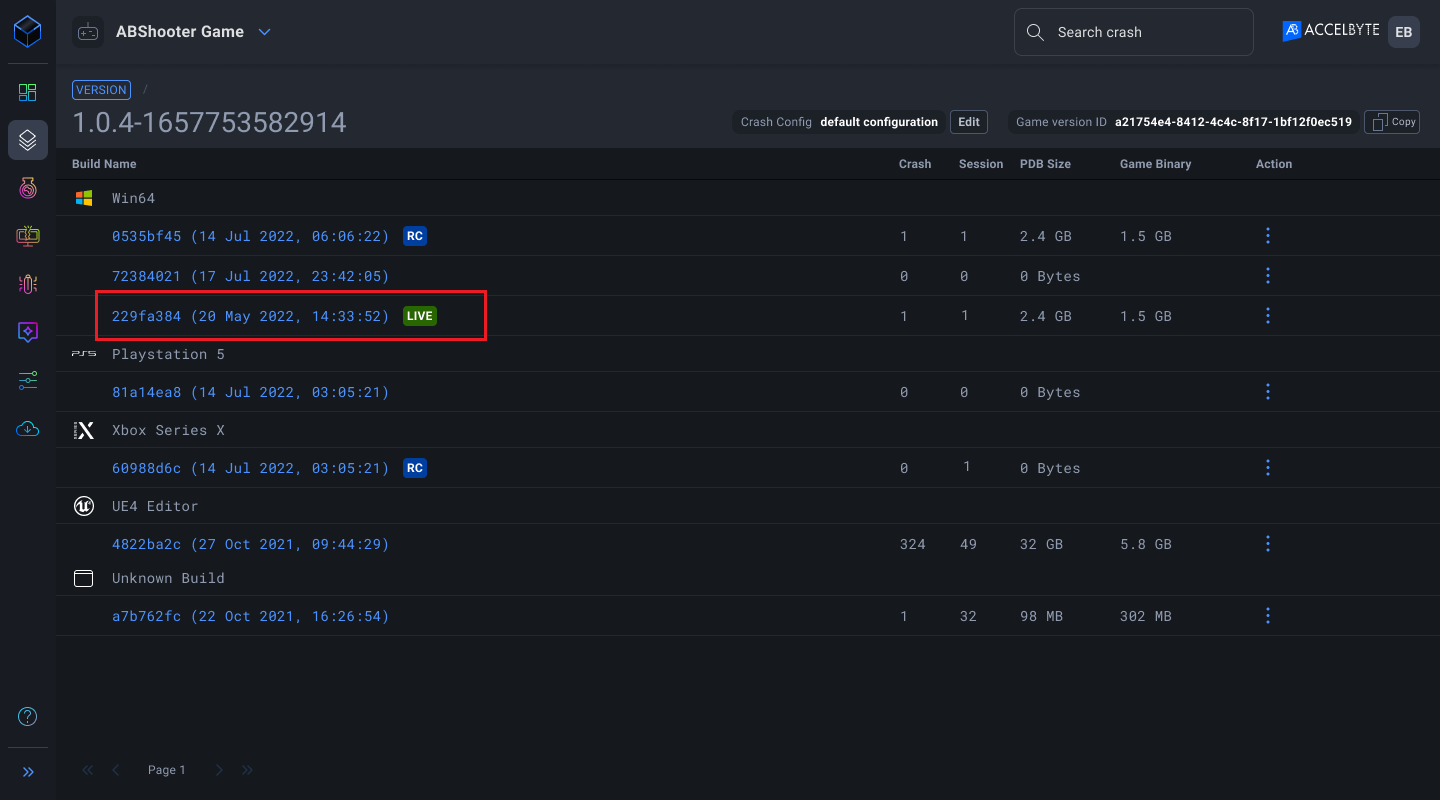
Once the build is set to Live, the flag changes from RC to Live.
Set live build on Crash Reporter page
Login to ADT Web.
Go to the Versions page.
Click on the version with your RC build in it.

Click the build name to open your build page.
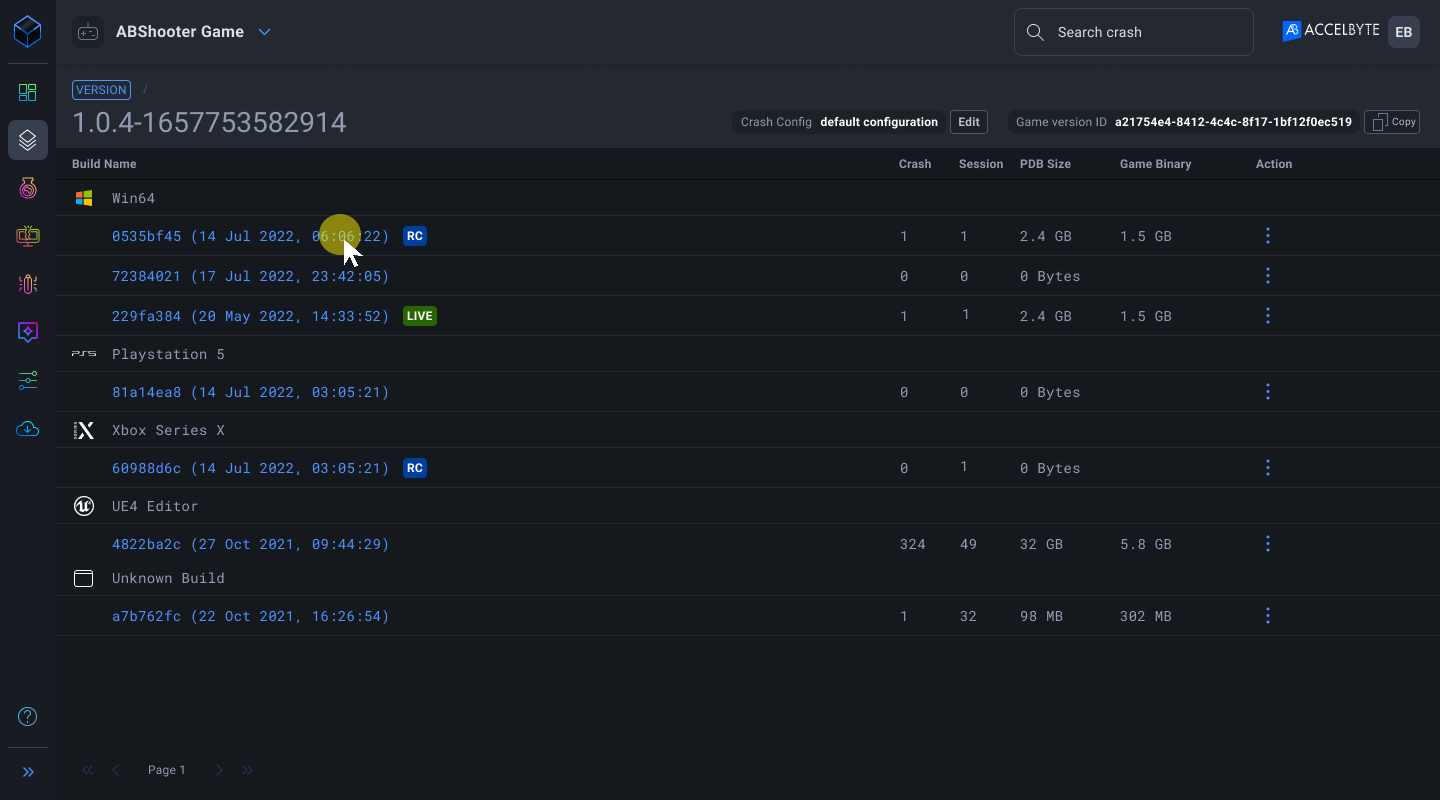
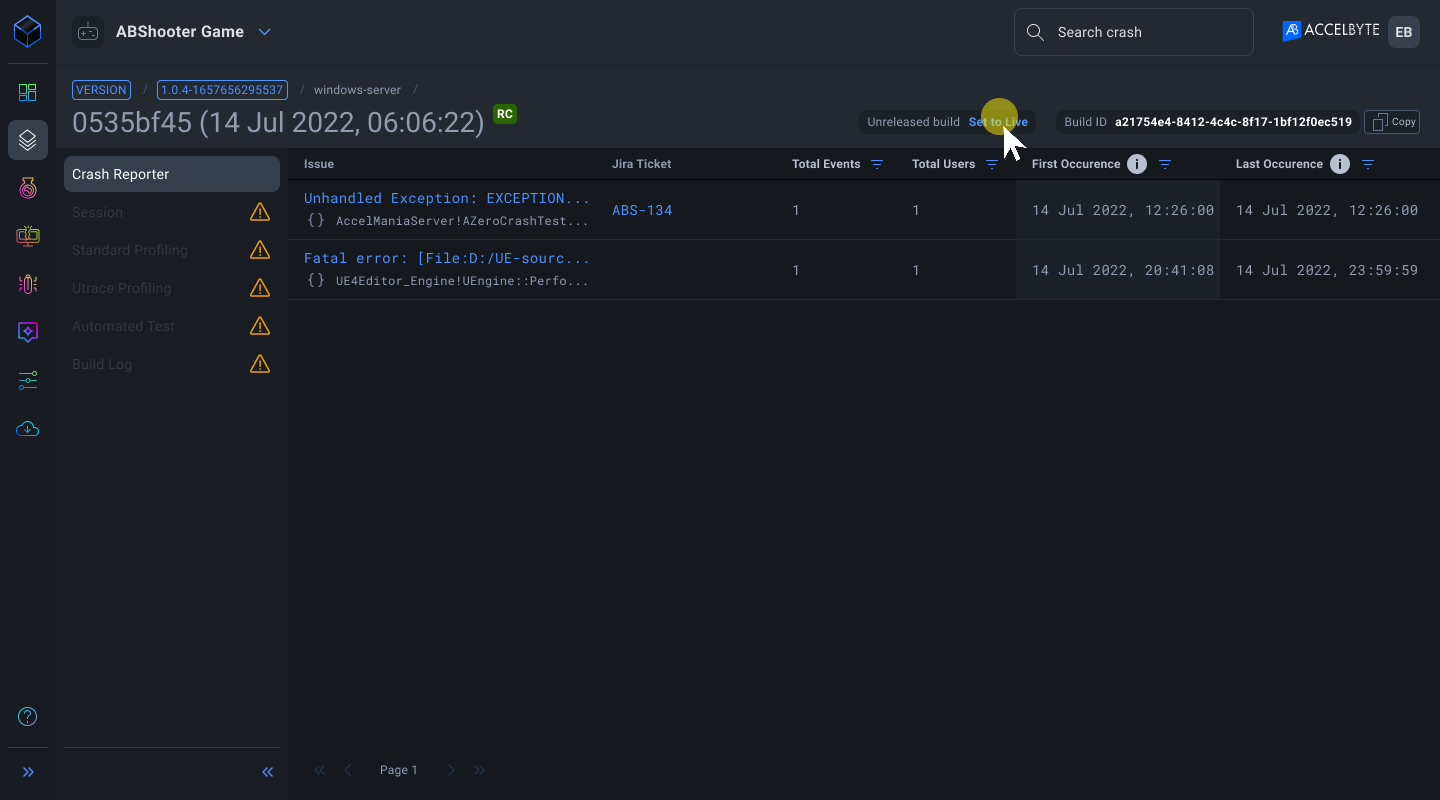
At the top of the page, click Set to Live. The build flag changes to Live.
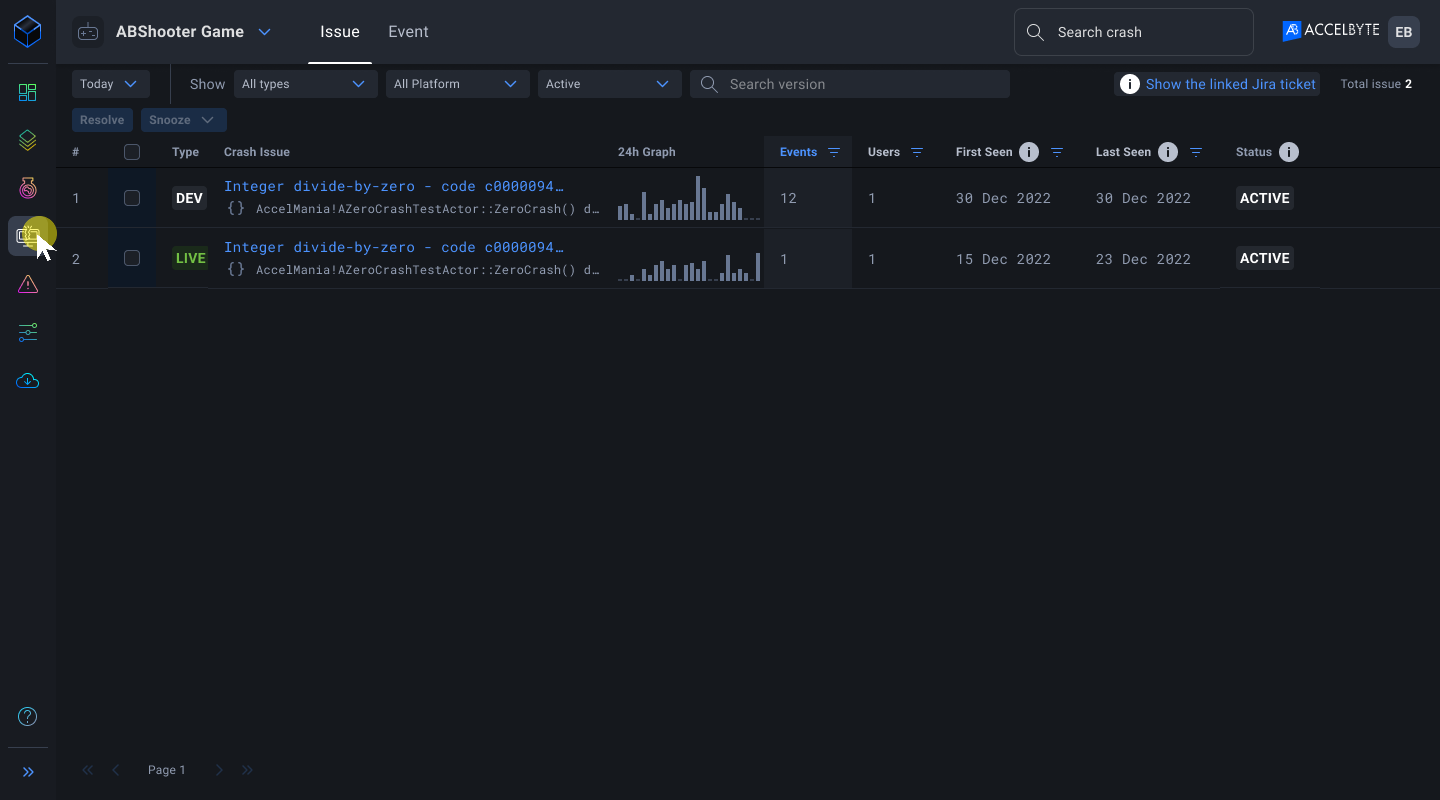
Monitor live crashes on the Crashes page
Log in to ADT Web.
Go to the Crashes page.
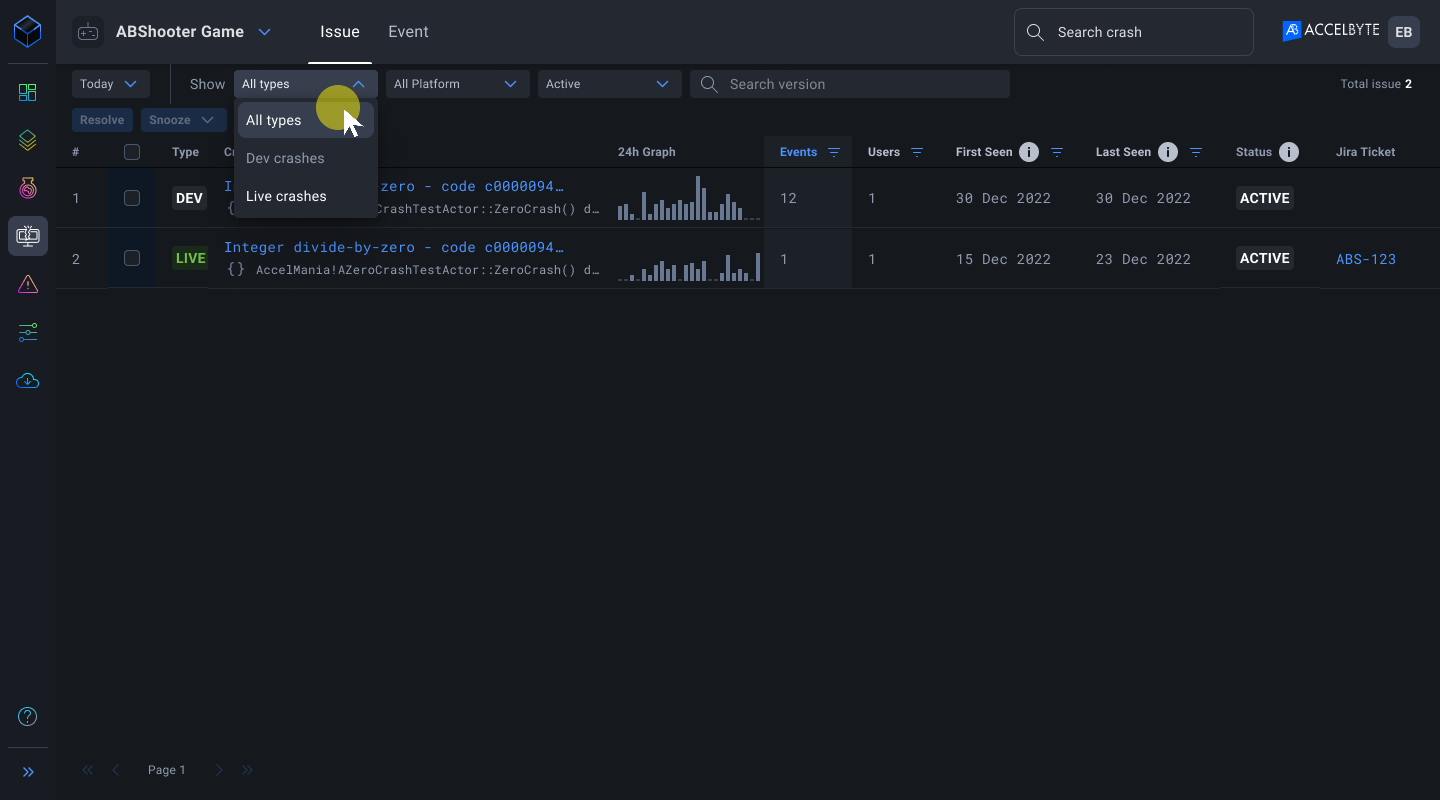
Filter the crashes based on type.
Monitor live crashes in a build
Log in to the ADT Web.
Go to the Version page.
Click on the version containing your live build.
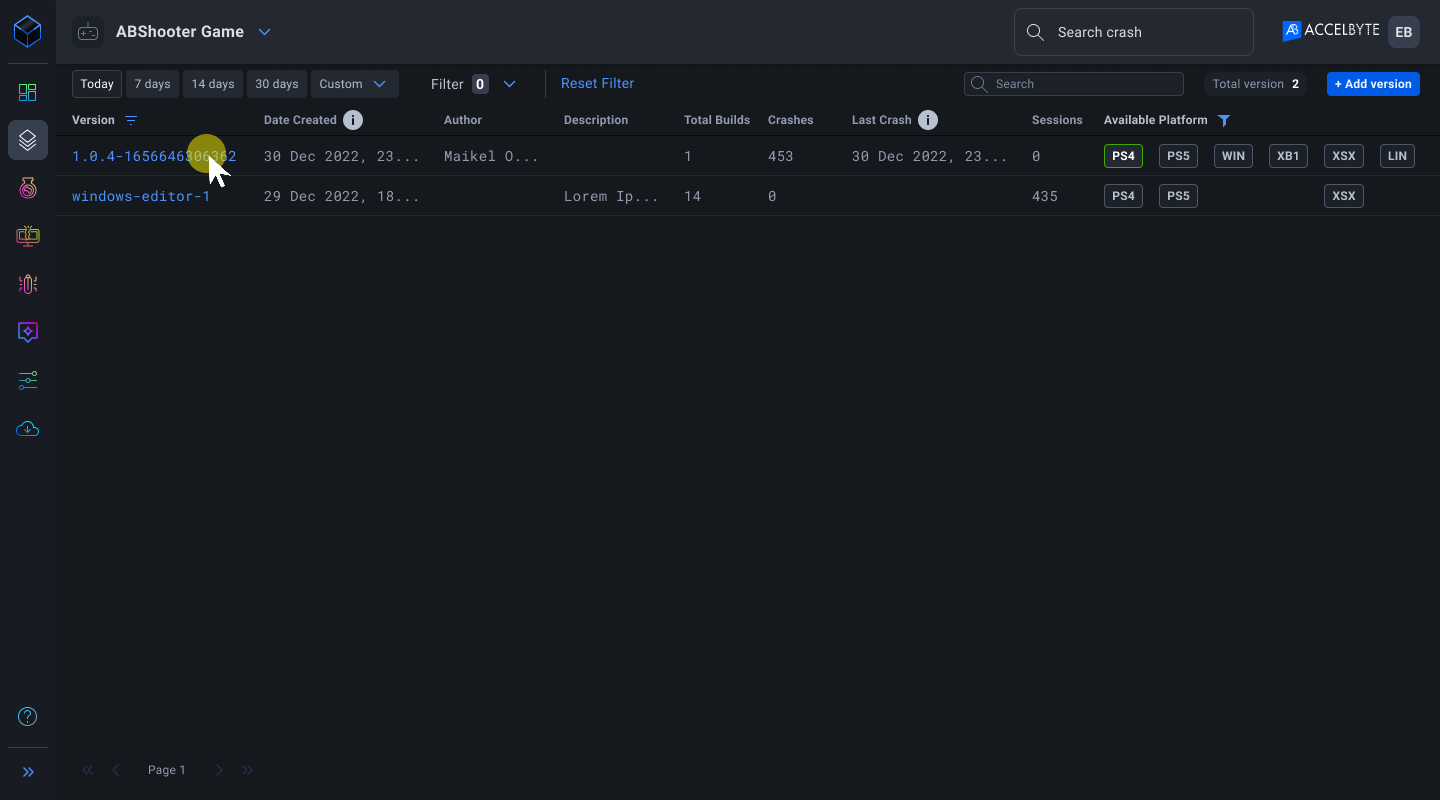
Click on the build name to open its build page.
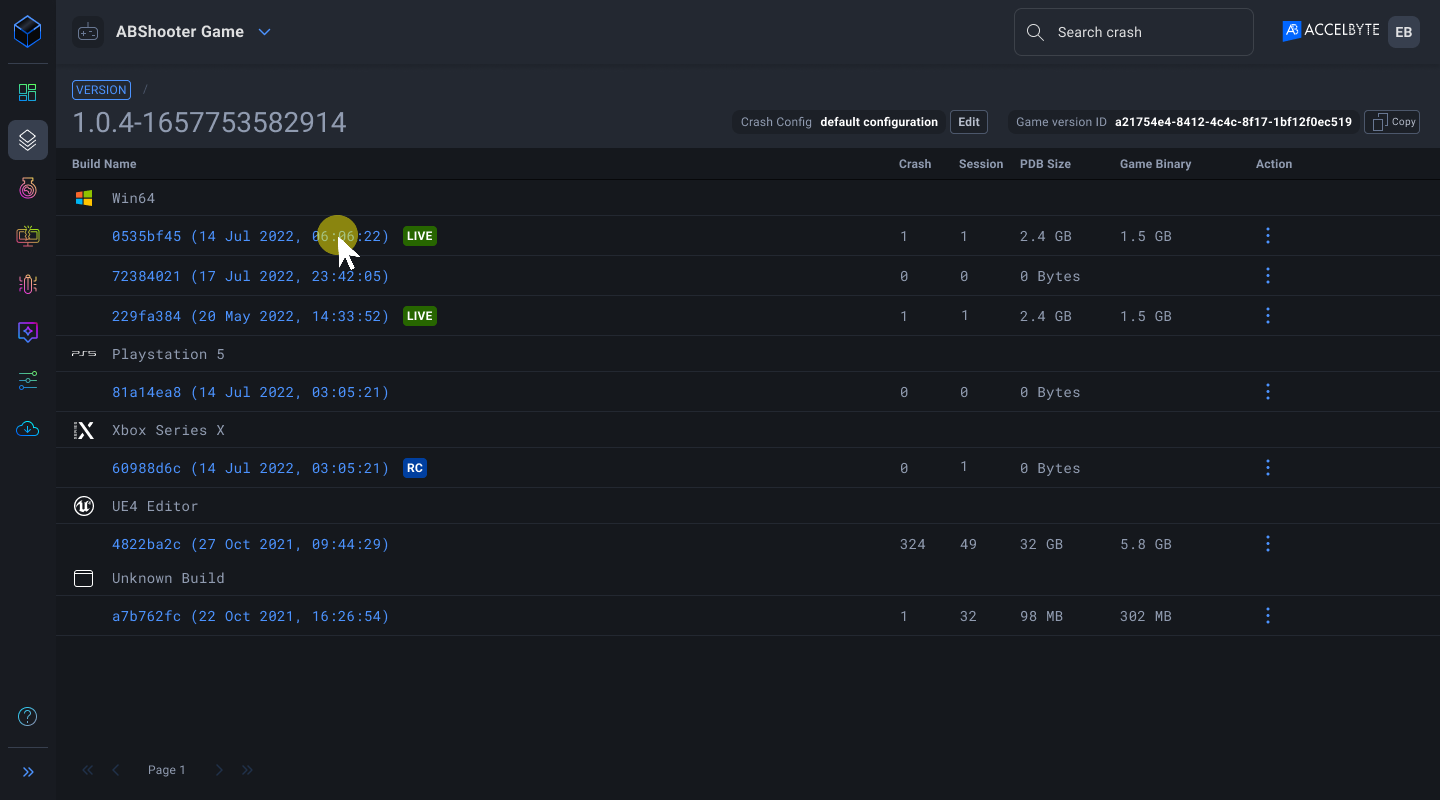
In the Crash Reporter section, you can see a list of a build's crashes. Click on the filter and select Live to show only the live crashes.
